

1996-98 4runner RCR-12 Switch Pros Control Mount
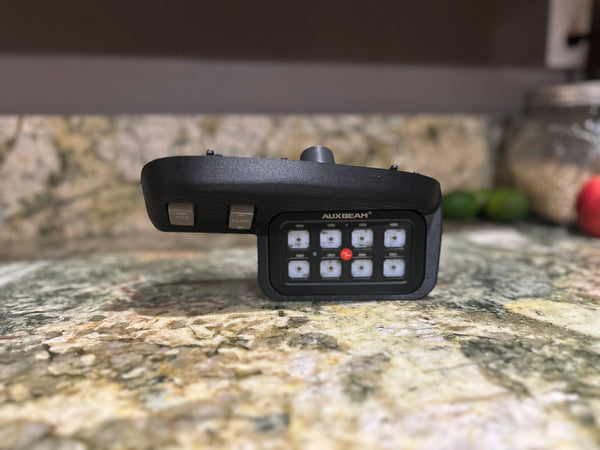
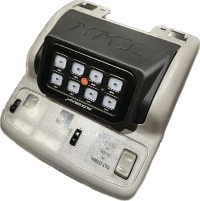
Tired of reaching for switches that aren't there? Tired of zip-tying a controller somewhere it doesn't belong? This 3D-printed mount replaces your factory sunroof control bezel with a clean, purpose-built home for your Switch Pro panel — centralized control for your lights, lockers, compressors, and accessories, exactly where your hand expects it.
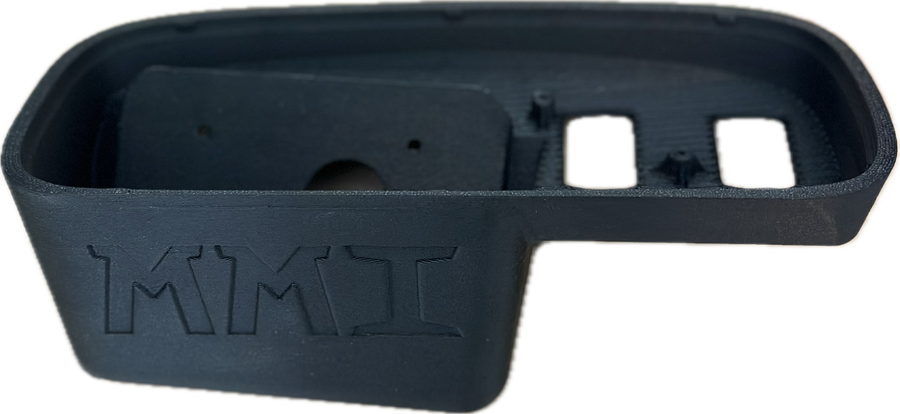
Every mount is printed in-house at MMI in Orange, CA in engineering-grade polymer — rigid, heat-resistant, and built to hold up in a working rig. The multi-plate assembly locks the Switch Pro in place with no flex, no rattle, and no exposed wiring. Hidden channels route your cables clean so the interior looks like it came from the factory floor.
Designed as a direct replacement for the factory sunroof control bezel. No cutting. No drilling. No permanent modifications to your interior.
❗ NOTE: All components are FDM printed and may exhibit small variations or minor cosmetic blemishes. Every part is thoroughly inspected before shipping to meet our quality standards.❗
Key Features
- Direct replacement for the factory sunroof control bezel — no cutting, no drilling
- Designed for seamless Switch Pro controller integration
- Secure multi-plate assembly with hidden wiring channels
- OEM-style aesthetics that look like it came from the factory
- Printed in engineering-grade polymer — rigid and heat-resistant