Skip to product information
1 of 2

Magallon Made Innovations

1999-02 4runner AuxBeam Control Mount

1999-02 4runner AuxBeam Control Mount

Regular price $80.00 USD
Regular price Sale price $80.00 USD
Sale Sold out
Shipping calculated at checkout.
📝 Product Description
📁 Documentation
🎥 Videos

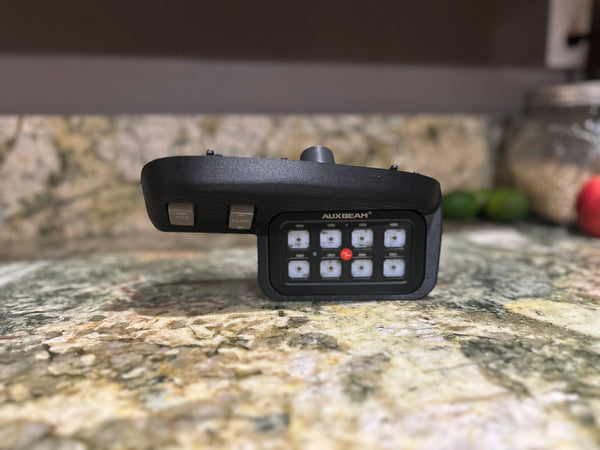
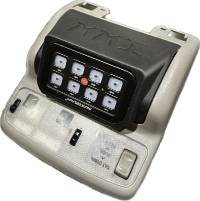
Elevate your off-road adventures with our precision 3D printed switch mount, purpose-built to integrate the AuxBeam control panel directly into your vehicle's interior. This mount replaces the factory sunglass bezel, delivering a factory-like fit and finish while offering centralized control for your off-road accessories, such as lights, lockers, compressors, and more.

Designed for durability and engineered for a clean OEM look, this mount improves both function and aesthetics—empowering you to navigate any terrain with ease and confidence.

NOTE: All components are FDM printed, which may result in small variations or minor cosmetic blemishes. Every part is thoroughly inspected to meet our highest quality standards. Thank you for your understanding.❗

Key Features

  • OEM-style fit and finish for seamless integration
  • Directly replaces the factory sunglass cubby
  • Compatible with AuxBeam 8-gang switch panels (BA80 and RA80)
  • Functional sunglass storage
  • Felt pad included to conceal wires

Installation Instructions

  1. Remove Factory Bezel:
    • Locate the factory bezel above the rearview mirror.
    • Using a small pry tool, gently remove the lens cover for the lights.
    • Remove the screw securing the bezel with a Phillips screwdriver.
    • Carefully slide the bezel out from the headliner while disconnecting the electrical connections.
  2. Remove Factory Sunglass Cubby:
    • Using a small punch, push out the roll pins from the center outward on each side.
    • Note: The roll pins should come out with minimal force and only need to be removed enough to release the cubby.
  3. Prepare MMI Mount for Installation:
    • Route the AuxBeam controller cable through the designated channel in the mount.
    • Secure the controller to the mount using hardware provided by AuxBeam.
    • Apply the felt: peel back half of the adhesive, align with the straight edge of the mount, then carefully apply the rest.
    • Note: The felt is designed to neatly conceal the controller wiring.
  4. Install MMI Mount into Factory Bezel:
    • Insert one of the roll pins halfway toward the center of the bezel.
    • Install the mount at a slight angle, using the pin to align it.
    • Push the opposite pin into place to secure the mount.
    • Ensure both pins are flush with the bezel for a secure fit.
  5. Reinstall Factory Bezel:
    • Reconnect the electrical components and reinstall the bezel by reversing step 1.
    • Note: Ensure proper routing of the AuxBeam control harness during reinstallation.
  6. Enjoy:
    • With the mount securely in place and the AuxBeam controller connected, enjoy streamlined control over your off-road accessories. You're ready to hit the trail with confidence!

Videos coming soon…

View full details